Adobe Bridge and be used to place graphics within InDesign documents. This add-in program provides a filling management system for your project, enabling you to see all of the images in your project as well as allowing you (amongst other things) to place several images in your document simultaneously.
Steps to Place Graphics in InDesign
STEP 1:
Navigate to the document you are currently working on and Press CTRL + 0 to view the spread.
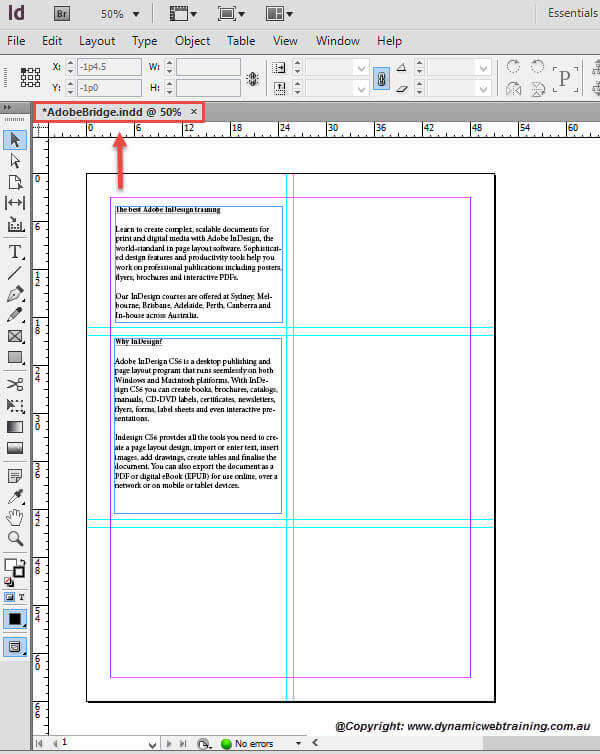
STEP 2:
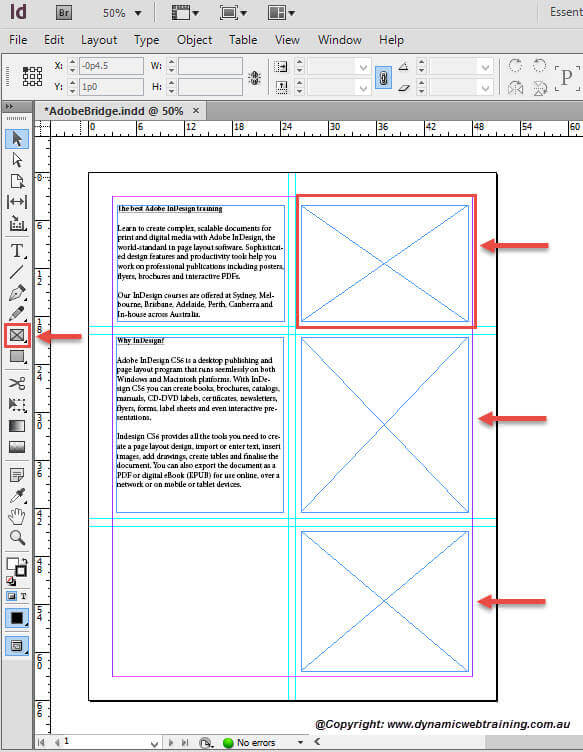
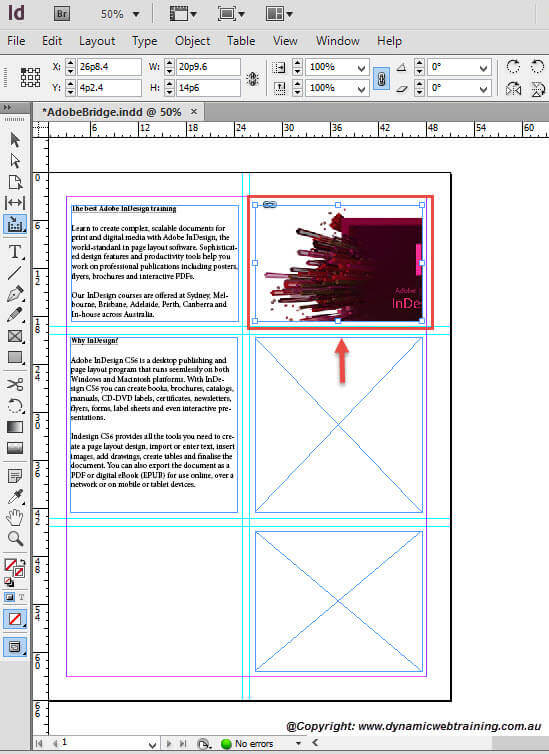
Once you have a good view of your document proceed by clicking on the Rectangle Frame tool from the toolbar on the left-hand side and draw a frame in the Top right, Middle right and Bottom right areas.
STEP 3:
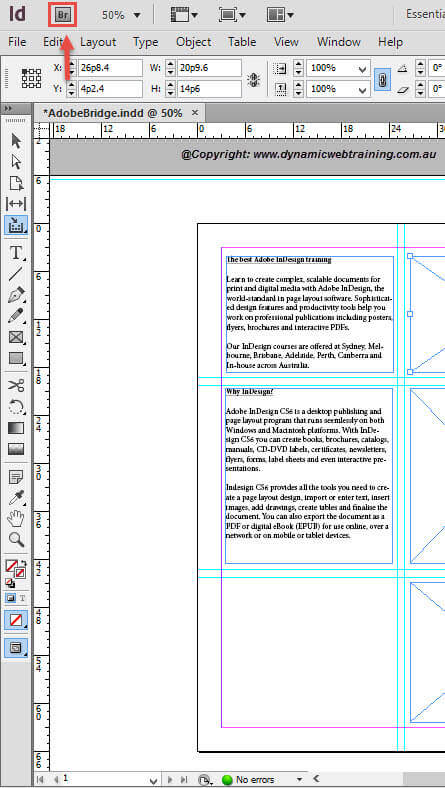
Using the Selection tool, click on the Top right frame to select it, then click on the Go to Bridge tool (Br). This tool should be located at the top left of your InDesign document.
STEP 4:
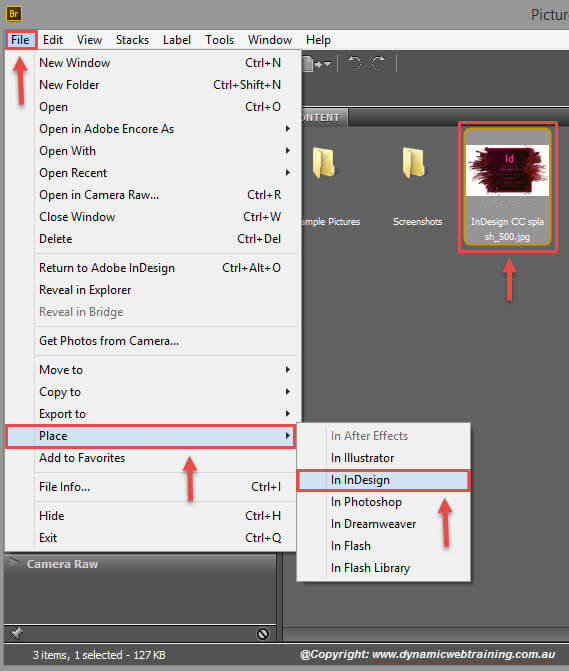
Navigate to where you have stored your images and select the image you would like to position on your document. Then roam to File in the Menu Bar and in the drop down select Place In InDesign. Your InDesign document will open up with the picture placed within the selected rectangle area.
STEP 5:
If your image is large then once you place it within the desired frame, you will notice how it doesn’t fit right. To have it fit to frame all you do is navigate to your Menu Bar go to Object and from the drop down select Fitting Fit Content to Frame. This will position your image perfectly!
STEP 6:
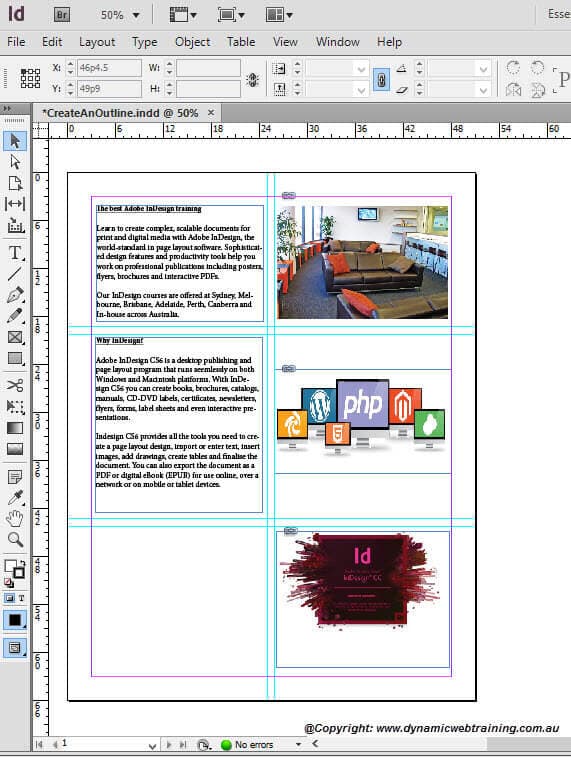
Now go ahead and do this for the remaining boxes (Middle Right and Bottom Right). You should have a document that looks similar to the last screenshot.
Handy To Know:
You can also drag and drop a graphic from Adobe Bridge into InDesign. If you drop it onto a graphics frame, the new graphic will replace any old one and adopt the frame settings. If you drop a graphic onto a blank area of a document, the graphic will be pasted into a new frame at 100%.