HDR (High Dynamic Range) image is originally generated from numerous exposures, however Photoshop’s HDR Toning effect lets you simulate this effect in a single image. HDR Images are usually created using numerous photographs, each captured with a different exposure. However, it is understandable to not have the time to take multiple images, this is where HDR adjustments come in handy.
Steps to Use HDR Toning
Follow on to practice!
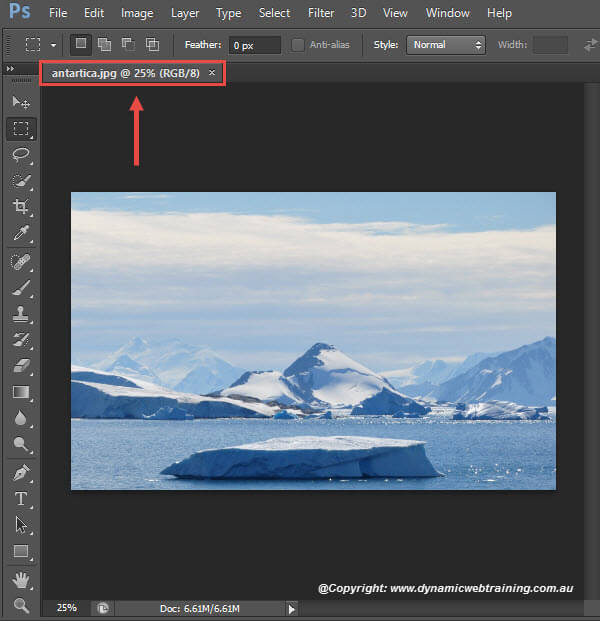
STEP 1:
Start off with an image you would like as your basis or rather background. This is where all the text, characters, etc. will be placed. For this tutorial an image of Antarctica will be used.
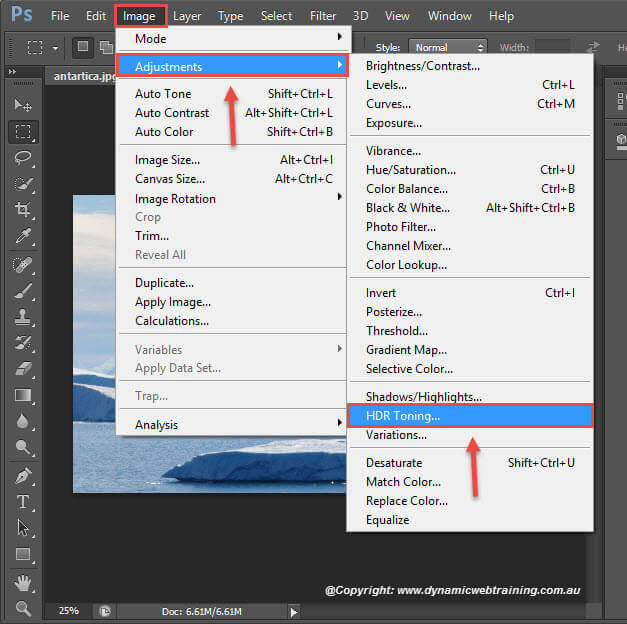
STEP 2:
In the Menu Bar select Image and from the Drop Down select Adjustments, then HDR Toning.
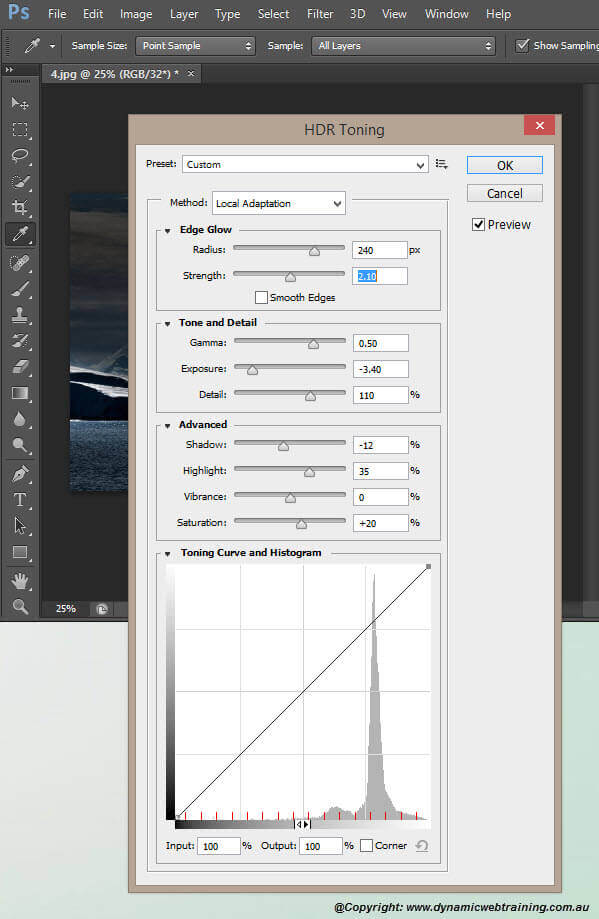
STEP 3:
Once the HDR Toning dialog opens, enter similar settings to what is presented in the third screenshot. By changing the settings for the Radius, Strength, and Detail it is guaranteed that you will get a more dramatic and detailed look. Make sure to notice the changes that occur to your image as you enter the numbers.
Once done, click OK.
STEP 4:
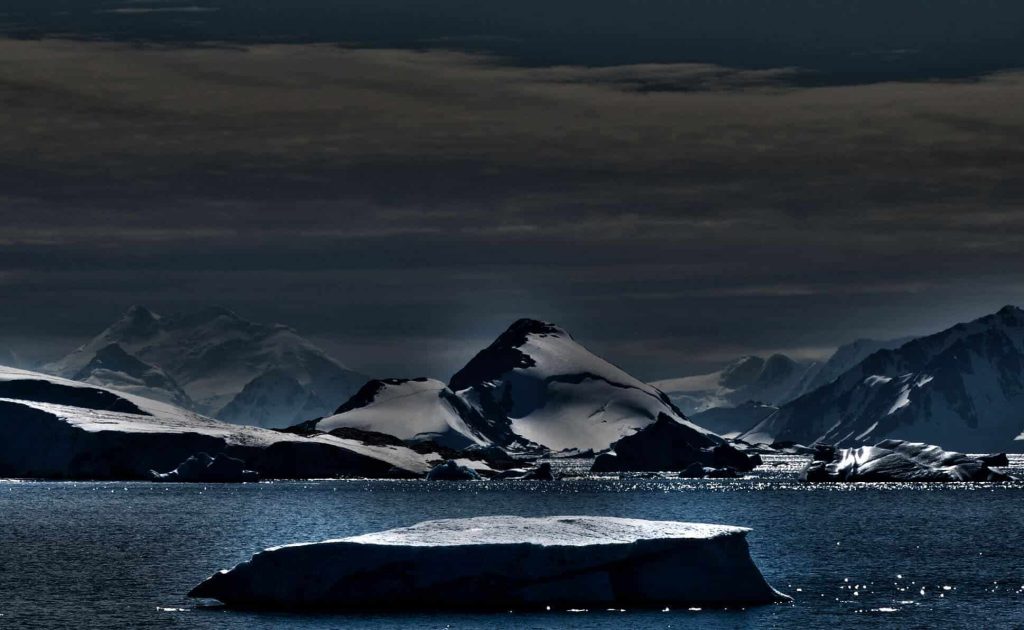
In the end you should be left with an intense image.