A large part of working with Adobe Illustrator is being able to use shapes to create intricate designs for brochures, letterheads, logos etc. This is where the Shape Builder Tool comes in handy, with the help of this tool you will be able to merge, extract, and select shapes easily. Follow this blog to learn of its features!
Steps to Use Shape Builder Tool
STEP 1:
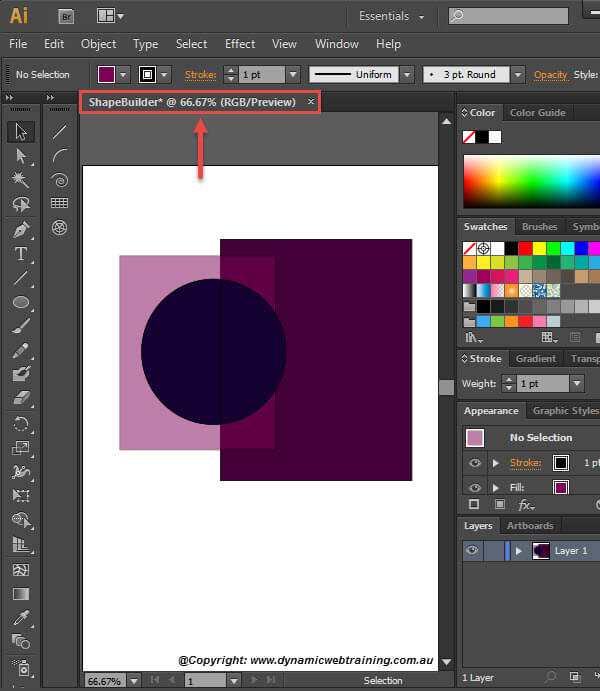
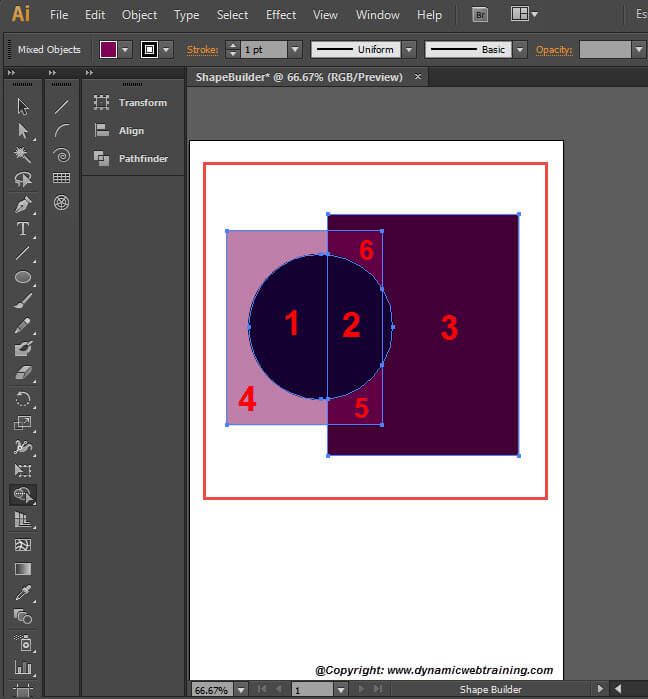
Start off with having multiple shapes drawn on your Adobe Illustrator document. As shown by screenshot one, I have chosen to draw two squares overlapped with a circle on top.
STEP 2:
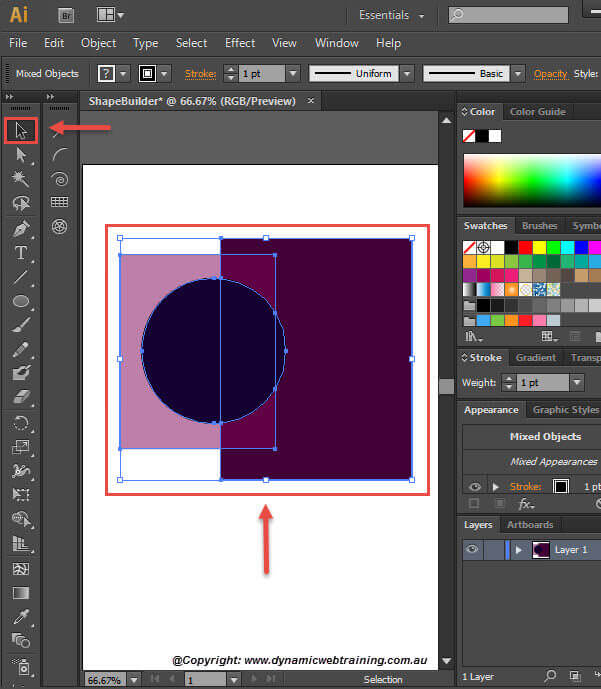
With the Selection Tool, go ahead and select the shapes you would like to merge. Make sure to only have the shapes chosen that you want to alter, otherwise you will end up editing unwanted shapes.
STEP 3:
Now, there are two ways to combine these shapes together. Once way is to go into the Menu Bar and select Window then from the Drop Down click on Path Finder.
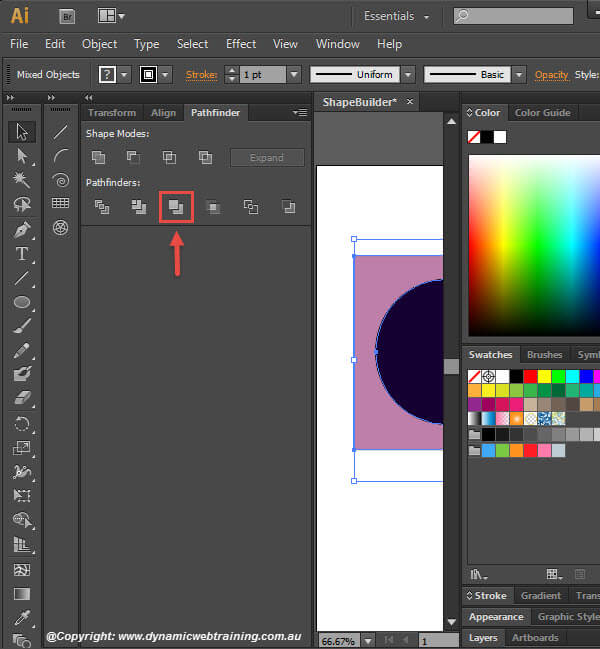
As the Path Finder Box opens up there will be multiple options. Underneath the Pathfinders option press on Merge. The shapes will be merged together and you will be able to move them as a whole.
STEP 3:
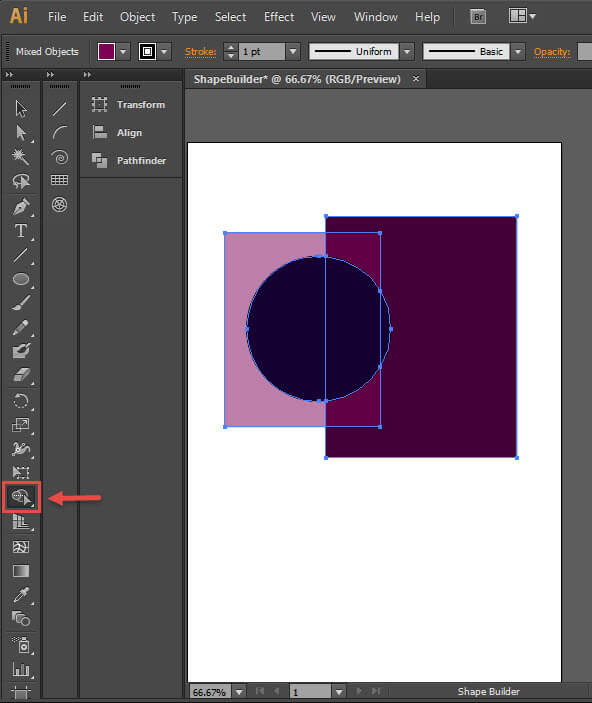
Another way is to use the Shape Builder Tool from the tools box on the left, where you can now edit the shapes as a whole.
STEP 4:
As you hover your mouse over the shapes you will notice how each section either overlapped or not is treated separately.
Merging Two Layers Together –:
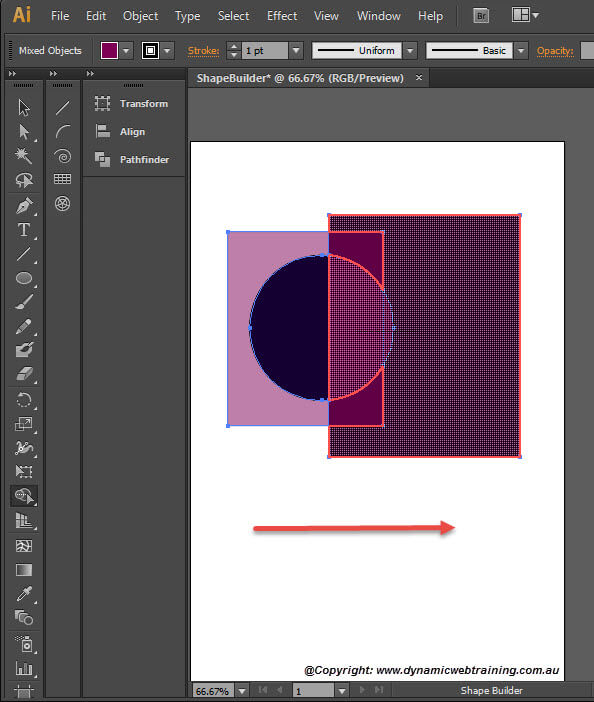
The Shape Builder Tool provides you with the ability to combine two or more layers to create one joined shape. You are able to do this by selecting the first layer and dragging the line which will appear over to the final layer. Once you release the two images will be transformed into one shape.
Deleting a Layer –:
Select the layer you would like to delete and press the Delete button.
Copying a Layer –:
Select the layer and press ALT, a copy of the layer will be made and as you move your mouse you will be able to move the copied layer.